How to Set Up Your First Budget in WealthMode
A step-by-step guide to creating your first budget in WealthMode — set up categories, assign spending limits, and start tracking your money in minutes.
You’ve connected your accounts — now let’s put them to work. A budget is where WealthMode goes from a transaction viewer to an actual financial tool. It takes about five minutes to set up, and once it’s live, you’ll have instant visibility into where your money is going and how much you have left to spend in any category.
This guide walks you through every step, from opening the Budget section for the first time to saving a budget you can actually use.
Before You Start: Pick a Budgeting Method
WealthMode doesn’t force you into one budgeting style. It works equally well with any method — but having a method in mind before you start makes the setup faster and your categories more intentional.
Two common approaches:
- The 50/30/20 rule — Split your after-tax income into three broad buckets: 50% for needs, 30% for wants, and 20% for savings and debt repayment. It’s simple, flexible, and a good starting point if you’ve never budgeted before. See our guide to the 50/30/20 rule for a full breakdown.
- Zero-based budgeting — Assign every dollar of your income to a specific category until you reach zero. More detailed, but gives you tighter control.
Not sure which one fits your situation? Our complete budgeting guide walks through both methods and helps you decide.
Either way, the steps below are the same. You’ll just set your category limits differently depending on the method you choose.
How to Create Your Budget in WealthMode (Step by Step)
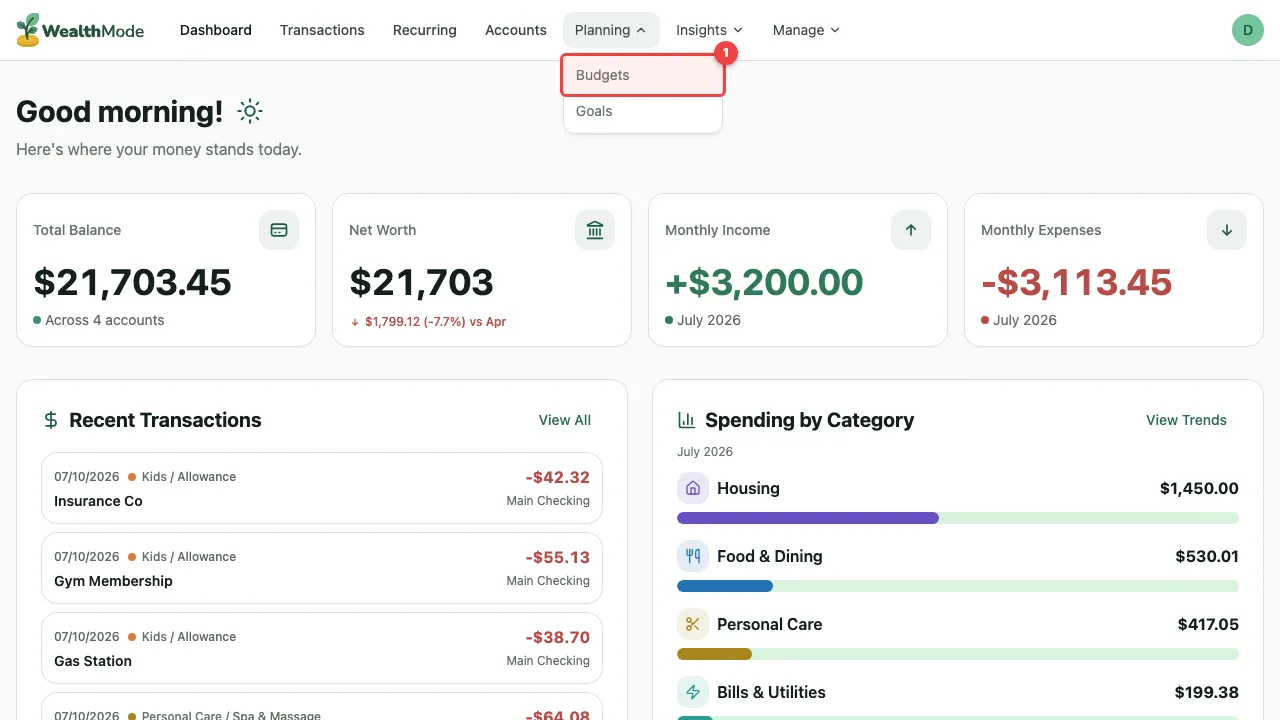
Step 1 — Navigate to the Budget section
Open WealthMode and click on Budget in the left sidebar. If this is your first budget, you’ll land on an empty state with a prompt to create one.
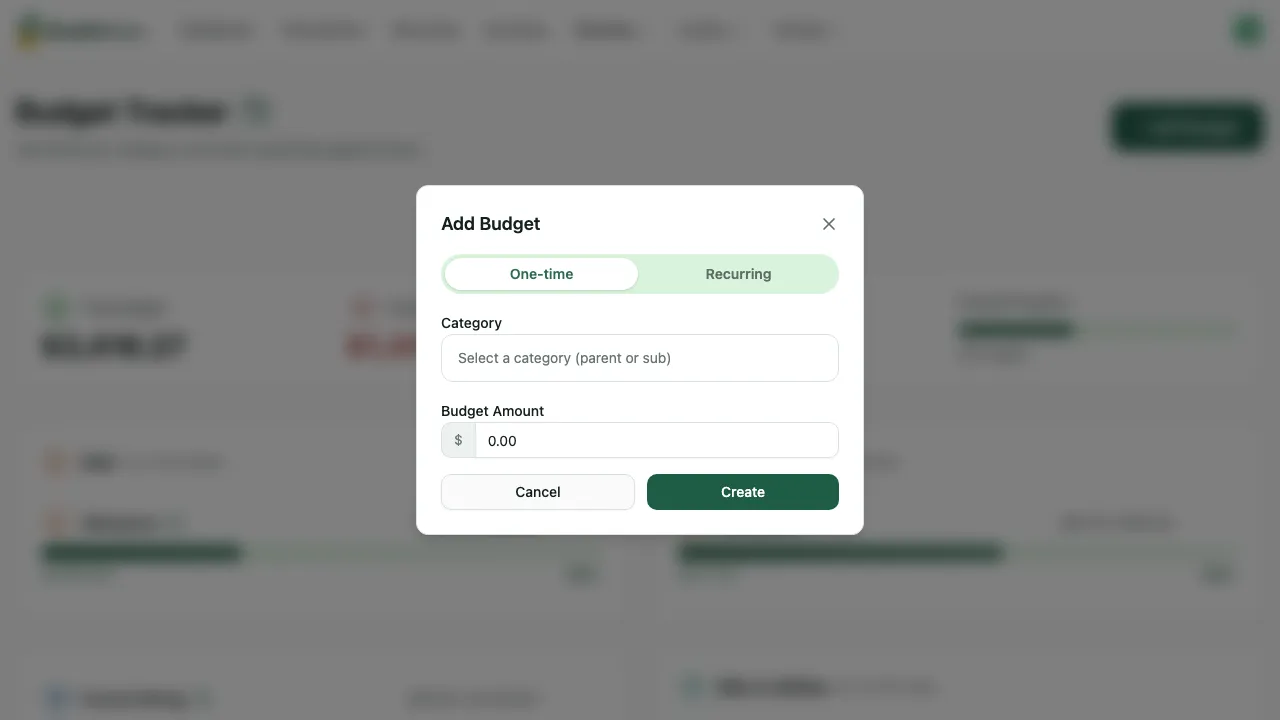
Step 2 — Create your first budget
Click the Create Budget button. A dialog will appear asking for two things: a name for your budget and the month it covers.
Name it something clear and consistent — “April 2026” works fine. Avoid vague names like “My Budget” that will be hard to tell apart from future months. Select the corresponding month from the date picker, then confirm.
Step 3 — Add spending categories
Once your budget is created, you’ll be taken to the budget editor. This is where you define the categories you want to track.
Think of categories as envelopes — each one holds a specific portion of your income for a specific purpose. Here are a set of categories that covers most people’s spending well as a starting point:
- Rent / Housing
- Groceries
- Transportation
- Dining Out
- Entertainment
- Subscriptions
- Savings
- Personal Care
- Miscellaneous
You don’t need to use all of these, and you can add your own. The goal is to reflect how your money actually moves — not how you think it should move in theory.
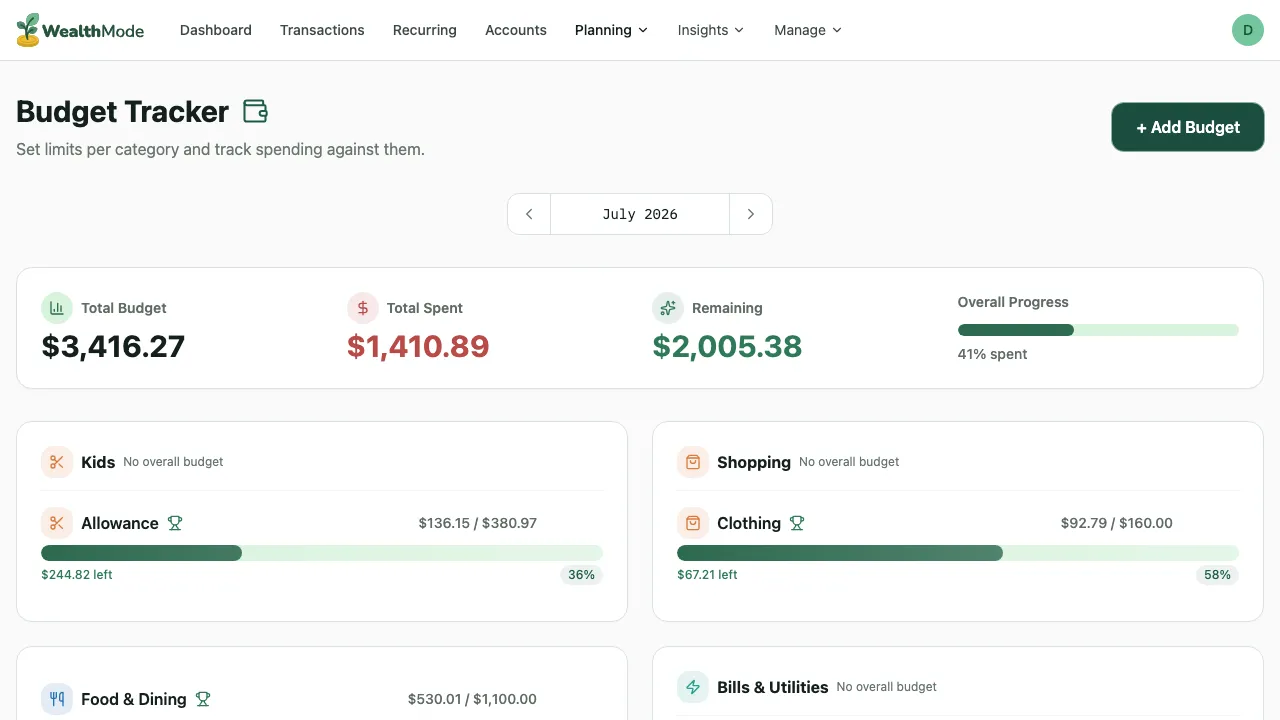
Step 4 — Set monthly limits for each category
With your categories in place, assign a monthly spending limit to each one. This is where your chosen budgeting method comes in.
If you’re using the 50/30/20 rule, add up your after-tax monthly income and divide it according to those percentages. Then distribute the “needs” bucket across housing, groceries, and transportation; distribute the “wants” bucket across dining, entertainment, and subscriptions; and assign the remaining 20% to your savings category.
If you’re doing zero-based budgeting, keep a running total as you assign limits and make sure every dollar has a home by the time you’re done.
Not sure what numbers to use? Check your transaction history in WealthMode first. Look at what you actually spent last month in each area — that’s a much more reliable starting point than guessing.
Step 5 — Review and save
Before saving, review your budget summary. It shows your total income, the total amount you’ve allocated across all categories, and any remaining unallocated amount.
Make sure your total allocated amount is at or below your monthly income. If you’re over, go back and trim a few categories — starting with discretionary ones like dining and entertainment. If you have money left over after allocating, consider adding it to savings or a buffer category rather than leaving it unassigned.
When everything looks right, save your budget.

Tips for Setting Realistic Budget Limits
The most common mistake with a first budget is setting limits that are too aggressive. Here’s how to avoid that:
Use last month’s actual spending as your baseline. WealthMode shows your transaction history — look at what you genuinely spent on groceries, dining, and entertainment before you assign a limit. If you spent $480 on groceries last month, budgeting $200 this month isn’t a plan, it’s wishful thinking.
Add a miscellaneous category. There are always expenses that don’t fit neatly into a predefined category. A miscellaneous or buffer category — even a small one, like $50 to $100 — gives you somewhere to put those costs without blowing up your other categories.
Start loose, then tighten. It’s better to set a slightly generous limit in month one and adjust downward as you learn your habits than to set an unrealistic limit and abandon the budget entirely after two weeks. A budget you can stick to is more valuable than a perfect budget you can’t.
Plan to review monthly. Your spending changes — new subscriptions, seasonal costs, irregular expenses. Set a reminder at the end of each month to review how your categories performed and adjust limits for the next month accordingly.
What Happens After You Set Up Your Budget?
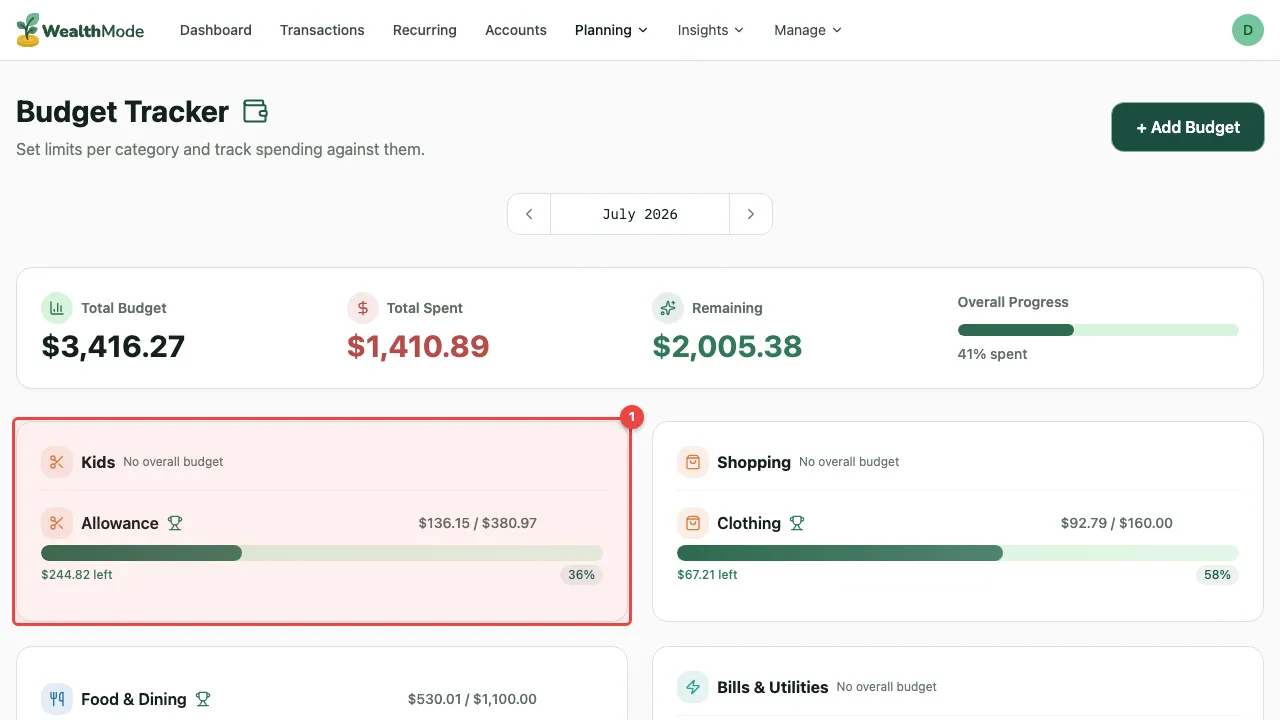
Once your budget is saved, WealthMode starts tracking your spending against it automatically. As transactions come in, they’re matched to your categories and your available balance in each category updates in real time.
In the Budget view, you’ll see a progress bar for each category showing how much you’ve spent and how much you have left. Categories where you’re running low will stand out, giving you a heads-up before you go over.
For this to work accurately, your transactions need to be assigned to the right categories. If you have uncategorized transactions or miscategorized ones, your budget numbers will be off. Make sure your transactions are organized — see How to Categorize Transactions in WealthMode for a walkthrough.
Your budget is live. The setup is done — now the habit begins. Check in at least once a week to see how you’re tracking against each category. The more consistently you check, the faster you’ll build real awareness of your spending patterns, and the more useful your budget becomes over time.