Getting Started with WealthMode: Your First 10 Minutes
A step-by-step walkthrough of your first 10 minutes in WealthMode — from creating your account to setting up your first budget and connecting your bank.
You just signed up for WealthMode — nice move. Now comes the part most personal finance apps make harder than it needs to be: getting everything set up. With WealthMode, the whole process takes about 10 minutes. By the end of it, your bank accounts will be connected, your transactions will be importing automatically, and you’ll have a budget in place. Here’s exactly how to do it.
Step 1 — Create Your Account
Head to wealthmode.io and click Get Started. You’ll be asked for your email address and a password. Once you submit the form, check your inbox for a confirmation email and click the link inside to verify your account.
After verification, you’ll land on the WealthMode welcome screen. This is your starting point — from here, the app will walk you through the remaining setup steps.
If you don’t see the confirmation email within a couple of minutes, check your spam folder. The email comes from [email protected].
Step 2 — Connect Your Bank Account
This is the step that makes WealthMode actually useful. When you connect your bank account, WealthMode automatically imports your transactions — no manual entry needed. You’ll be able to see exactly where your money went without typing a thing.
On the welcome screen, click Connect a Bank Account. You’ll be taken to a secure bank connection screen where you can search for your bank by name. Most major US banks and credit unions are supported.
Select your bank from the list, then follow the prompts to log in with your banking credentials. WealthMode uses a read-only connection — it can see your transactions and balances, but it cannot move money or make changes to your accounts.
Once connected, your accounts and recent transaction history will start syncing. This usually takes less than a minute.
For detailed instructions on the connection process, including troubleshooting common issues, see How to Connect Your Bank Accounts.
Step 3 — Review Your Accounts
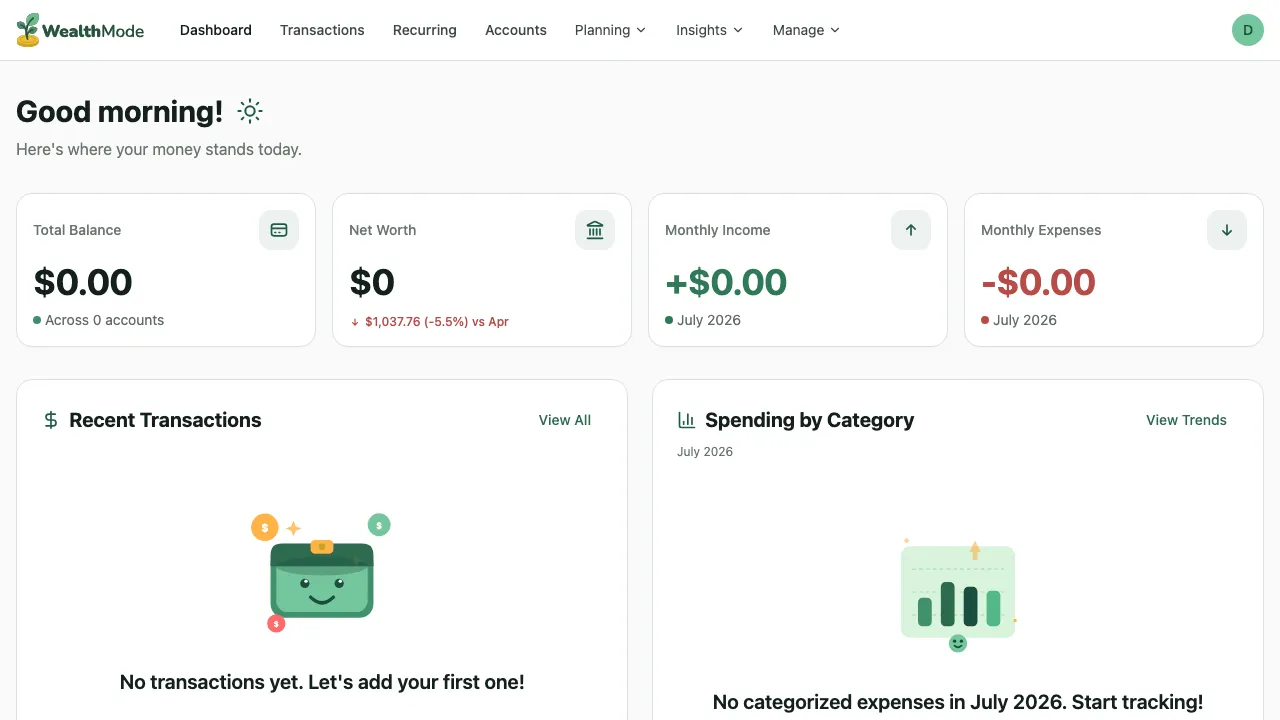
After your bank is connected, you’ll be taken to the WealthMode dashboard. Here you’ll see each of your linked accounts — checking, savings, credit cards — along with their current balances.
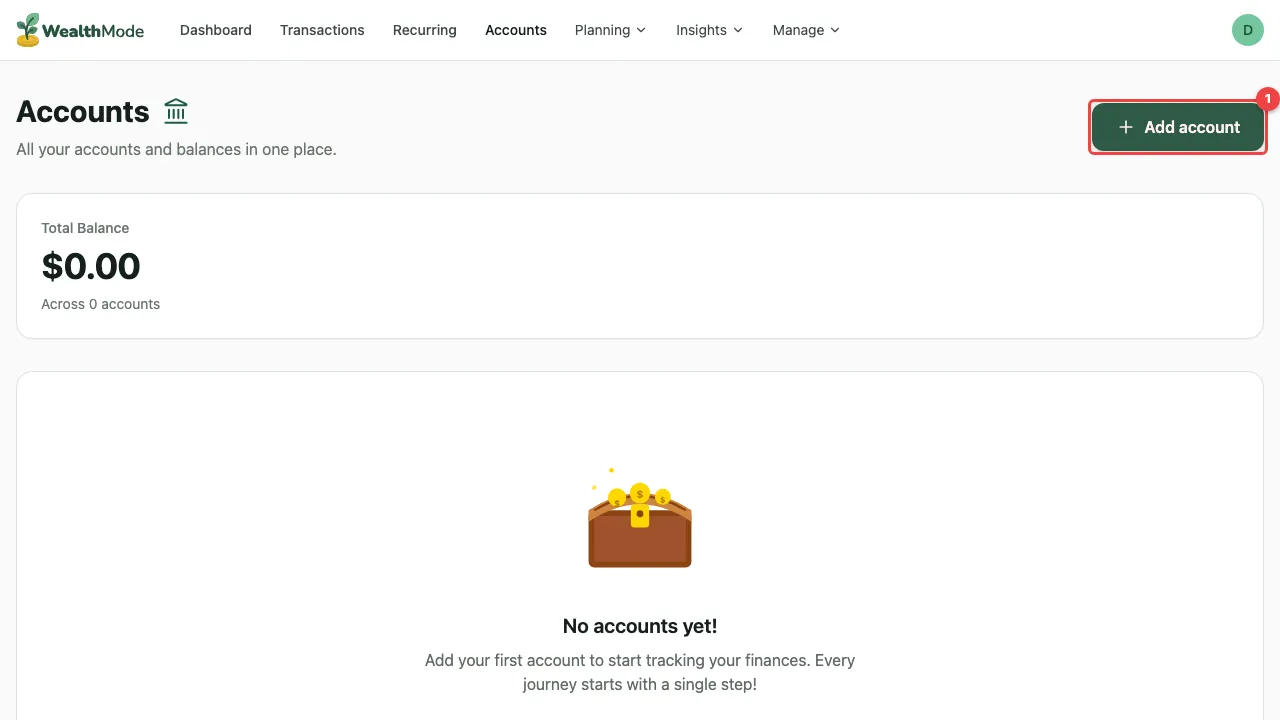
Take a moment to make sure everything looks right. If you have multiple accounts at the same bank, they should all appear here. If you bank at more than one institution, you can connect additional banks by clicking Add Account from the dashboard.
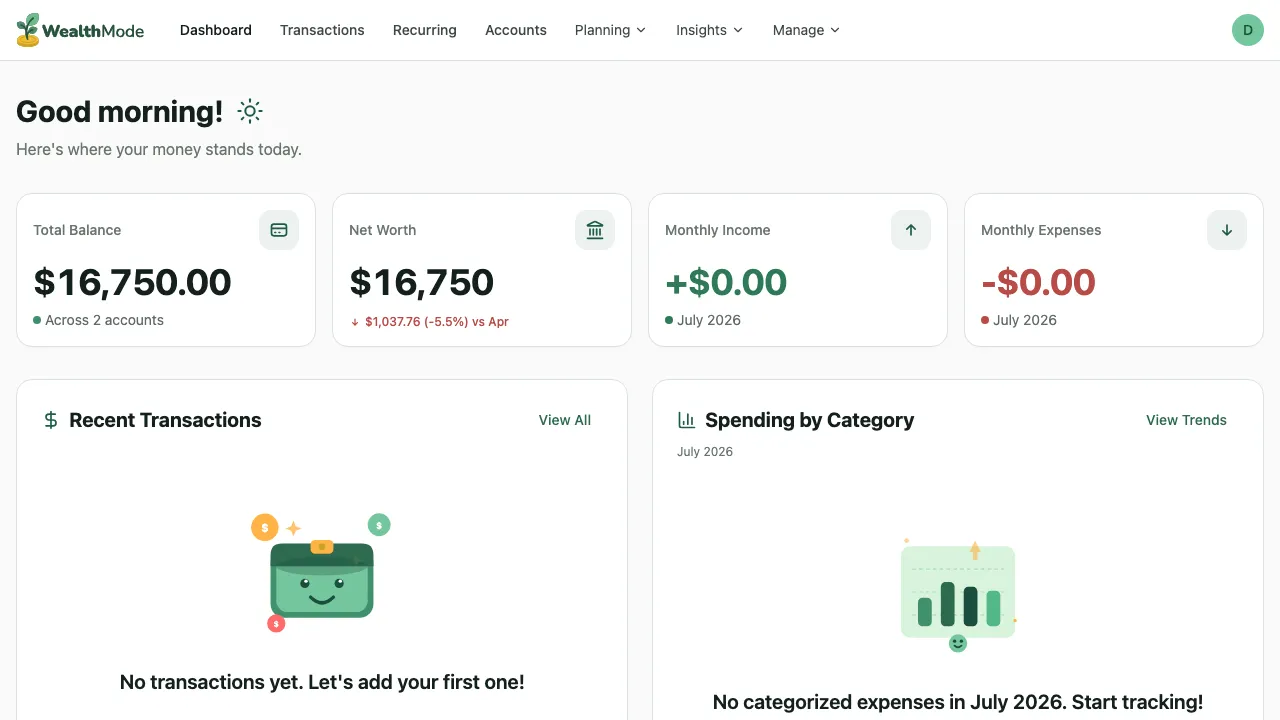
Your net worth — the total of all account balances — is shown at the top of the dashboard. This number updates automatically as new transactions come in.
Step 4 — Set Up Your First Budget
With your accounts connected, you now have real spending data to work with. The next step is setting up budget categories so you can track how much you’re spending in each area of your life.
Click Budgets in the left navigation, then click Create Budget. You’ll see a list of common budget categories — things like Groceries, Dining Out, Rent, Transportation, and Subscriptions. Select the ones that apply to your life, or create custom categories that fit your situation.
For each category, set a monthly spending limit. If you’re not sure where to start, look at the transactions that have already imported — WealthMode groups them by type, which gives you a realistic baseline to work from. You can always adjust the limits later as you get a better sense of your actual spending patterns.

Don’t worry about getting the numbers perfect right away. A rough budget you’ll actually use is more valuable than a perfect budget you abandon after a week.
For a full walkthrough of the budget setup process, including tips on choosing category amounts, see How to Set Up Your First Budget.
Step 5 — Explore Your Transactions
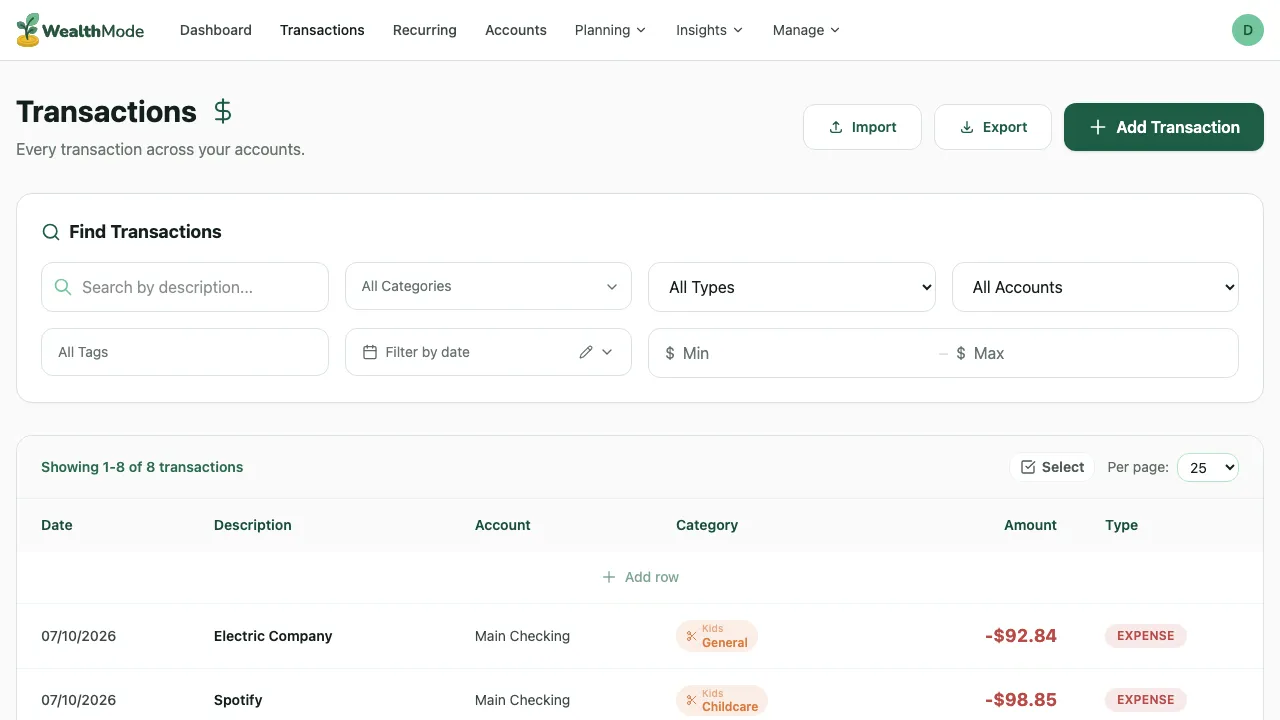
By now, your imported transactions should be ready to review. Click Transactions in the left navigation to see everything that’s come in from your connected accounts.
Most transactions are categorized automatically based on the merchant name. A charge at Trader Joe’s gets tagged as Groceries. A payment to Netflix gets tagged as Subscriptions. WealthMode handles the bulk of this for you, but some transactions — especially those with ambiguous merchant names — may need a category assigned manually.
Scroll through the list and look for any transactions marked as Uncategorized. Click on them to assign the correct category. WealthMode will remember your choice for future transactions from the same merchant.
Getting your transactions properly categorized is worth the few minutes it takes — it makes your budget tracking accurate from day one.
To learn more about how categorization works and how to set up rules for recurring merchants, see How to Categorize Transactions in WealthMode.
What’s Next?
You’ve done the heavy lifting. Your bank is connected, your transactions are importing, and your budget is in place. Here’s how to keep the momentum going:
- Check in weekly. A five-minute review at the end of each week is enough to catch overspending before it becomes a problem. Look at how your actual spending compares to your budget limits.
- Adjust as you go. Your first set of budget categories and limits won’t be perfect. That’s expected. After a month of real data, you’ll have a much clearer picture of what to adjust.
- Read up on budgeting strategy. If you want a deeper understanding of how to build a budget that actually holds up, our complete guide to personal budgeting covers everything from zero-based budgeting to the 50/30/20 rule.
You’re all set. WealthMode works best when you check in regularly — even a quick glance once a week can make a real difference in staying on top of your finances. The data is there; all you have to do is look at it.