How to Connect Your Bank Accounts in wealthmode
Step-by-step guide to connecting your bank accounts in wealthmode — link your checking, savings, and credit cards for automatic transaction tracking.
Connecting your bank accounts is the first step to seeing your complete financial picture in wealthmode. Once linked, your transactions import automatically, your balances update in real time, and you stop relying on manual entry to stay on top of your money. The whole process takes about two minutes per account.
This guide walks you through every step, from finding your bank to watching your first transactions roll in.
Why Connect Your Bank Accounts?
Manually logging every purchase is tedious and easy to fall behind on. Connecting your accounts solves that problem at the source.
Automatic transaction import. Every purchase, payment, and transfer shows up in wealthmode without you lifting a finger. Your transaction history stays current without any manual work.
All your balances in one place. Whether you have one checking account or five credit cards spread across different banks, wealthmode pulls them together into a single dashboard. You always know where you stand.
Spending is categorized automatically. wealthmode analyzes incoming transactions and assigns categories — groceries, dining, utilities, and more — so your spending breakdown is ready without any extra setup from you.
Your data is encrypted and read-only. wealthmode connects to your bank with read-only access. That means it can see your transactions and balances, but it cannot move money, make payments, or change anything on your account. Your credentials are encrypted and never stored in plain text.
How to Connect Your Bank Account (Step by Step)
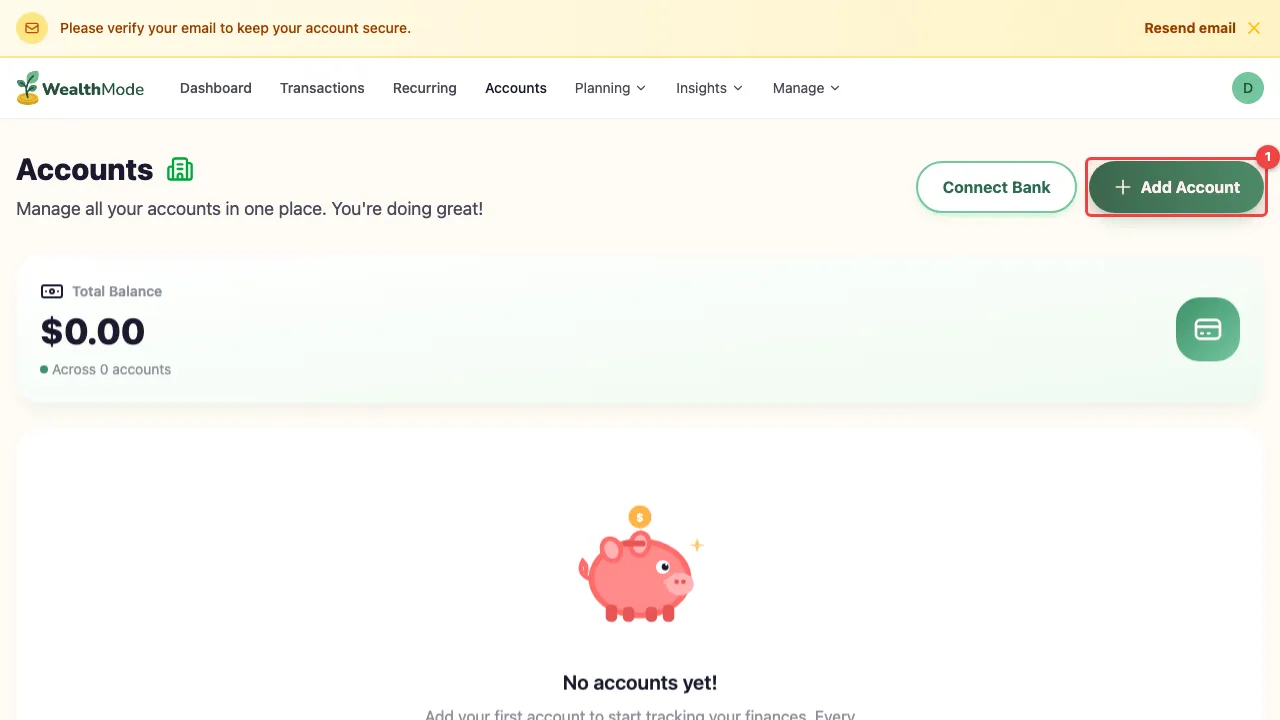
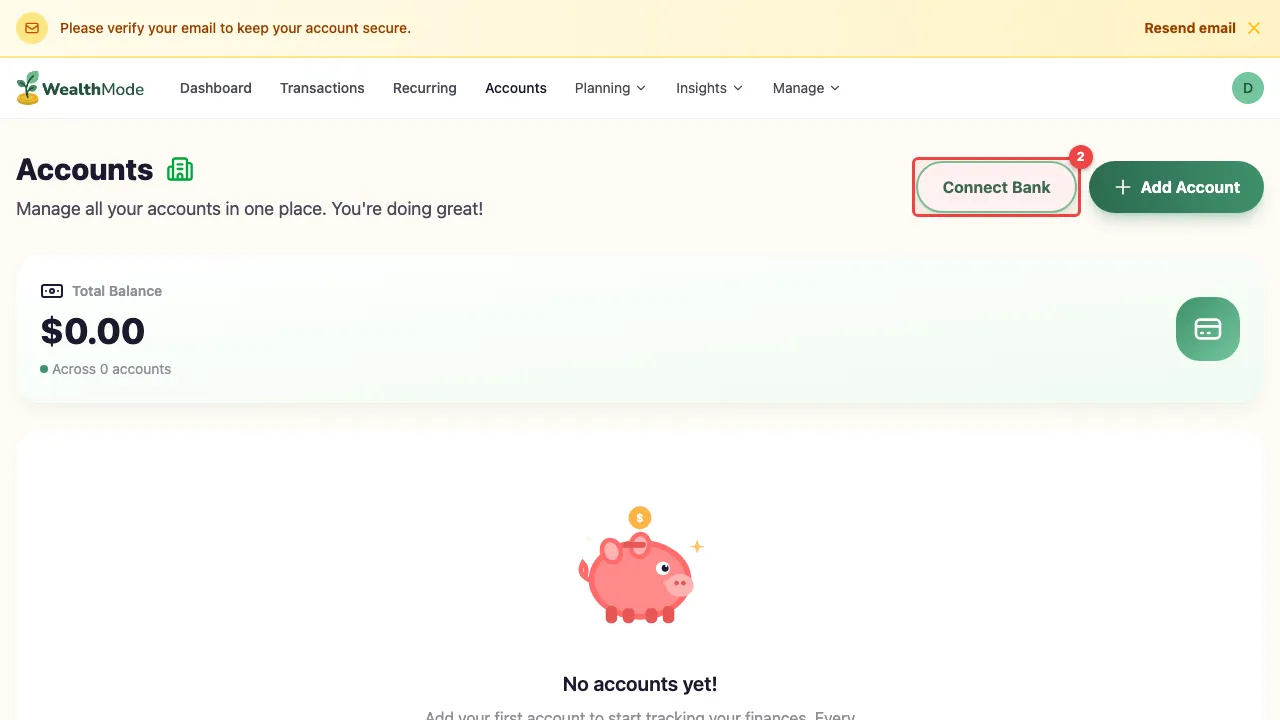
Step 1 — Go to Accounts and click “Add Account”
Open wealthmode and navigate to the Accounts page from the main sidebar. In the top right corner, you will find the Add Account button. Click it to start the connection process.
Step 2 — Search for your bank
A search dialog will open. Type the name of your bank into the search field. Results appear as you type, so you do not need to type the full name to find a match.
If your bank does not appear right away, try using its full official name — for example, “Chase” instead of “JPMorgan” or “Bank of America” instead of “BofA”. Most major US banks and credit unions are supported.
Step 3 — Enter your bank credentials
After selecting your bank, you will be prompted to log in with the same username and password you use on your bank’s website. This login is handled through a secure, encrypted connection. wealthmode receives read-only access to your account data and never stores your bank password.
Look for the security notice on the login screen — it confirms that your credentials are encrypted and that access is read-only.

If your bank uses two-factor authentication (2FA), you will be prompted to enter a verification code after your credentials. Check your email or authenticator app for the code and enter it when asked.
Step 4 — Select which accounts to sync
Once you log in, wealthmode shows you all the accounts available at that bank. You choose which ones to bring in. You might want to sync your main checking and savings accounts but skip an old account you rarely use — that is completely fine.
Check the box next to each account you want to track. You will see the account type and current balance listed next to each option so you can confirm you are selecting the right ones.

When you are happy with your selection, click Connect to proceed.
Step 5 — Wait for the initial sync
After confirming your account selection, wealthmode begins importing your transaction history. The first sync may take up to a minute depending on how many transactions your bank has on file.
You will see a progress indicator while the sync runs. Once it completes, your transactions will appear in wealthmode, typically covering the past 30 to 90 days of history depending on your bank.

Do not close the app while the initial sync is running. After this first import, all future syncing happens automatically in the background.
Supported Account Types
wealthmode supports the most common personal account types:
- Checking accounts — your primary day-to-day spending account
- Savings accounts — high-yield savings, emergency funds, and similar accounts
- Credit cards — track balances and purchases alongside your other accounts
- Loans — mortgages, auto loans, and personal loans, so you can see your full net worth
Most major US banks and credit unions are supported. If you bank with a large national institution, a regional bank, or a credit union, there is a good chance it is already in the system.
Troubleshooting Common Issues
Bank not found. Try the bank’s full official name. Some institutions are listed under a parent company name rather than a brand name. If you still cannot find it, your bank may not be supported yet.
Connection failed. Double-check your username and password — these need to match exactly what you use on your bank’s own website. If your bank requires two-factor authentication, make sure you complete that step when prompted. Some banks also periodically require you to re-authenticate, so if a previously connected account stops syncing, try reconnecting it.
Missing transactions. The initial sync covers your recent transaction history, but it can take a few minutes to fully load if you have a long history. Give it a few minutes and refresh the page. If transactions from a specific time period are missing, keep in mind that some banks only provide 30 to 60 days of history through their connection.
What Happens After You Connect?
Once your accounts are linked, wealthmode takes over. Going forward, your transactions import automatically — usually within a day of them posting to your bank. You do not need to do anything to keep your data current.
From here, the most useful next step is making sure your transactions are categorized correctly. Automatic categorization is accurate most of the time, but you can always adjust a category or split a transaction when needed. Learn how in categorize your transactions.
Once your spending data is flowing in, you can also put it to work. See how to use your transaction history to start saving more each month.
Once connected, wealthmode does the heavy lifting. Your transactions flow in automatically, your balances stay current, and your spending is organized without manual work on your end. All that is left is actually looking at the numbers — and using them to make better decisions with your money.